Thursday, May 2, 2013

Black & White Cookies


Looking for a harmonious treat? Then look no further! The black and white cookie represents equality and coming together as one. Don't believe me? Watch Seinfeld and your perception will change. ;) 

Backstory: I love Seinfeld. The husband and I own the collection on DVD as well as on iTunes. We watch them before bed every night. There is an episode where Jerry has an insight on the black and white cookie. Ever since that episode I have wanted to make a black and white cookie. It seems like a weird reason to want to bake something, but I have also read how soft and cake-like these can be. 

XO, 
Brooke


Ingredients: 

1 3/4 cups granulated sugar
1 cup unsalted butter (2 sticks), at room temperature
4 large eggs, at room temperature
1 1/2 cups milk
1/2 teaspoon vanilla extract
1/4 teaspoon lemon extract
2 1/2 cups cake flour
2 1/2 cups all-purpose flour
1/2 teaspoon baking powder
1/2 teaspoon salt
4 cups confectioners’ sugar
1/3 to 1/2 cup water
3 ounces very bitter or unsweetened chocolate
1 teaspoon light corn syrup
1 to 2 tablespoons unsweetened cocoa

Preheat oven to 375°. Yields about 60 cookies.

For the cookie: In large mixing bowl, combine sugar and butter until fluffy. Add eggs, one at a time, then milk and extracts, and mix until smooth. Scrape down bowl.

In medium bowl, combine flours, baking powder, and salt. Stir until mixed. Add dry mixture to the wet in batches, stirring well after each addition. Using a tablespoon, place heaping spoonfuls of the dough 2 inches apart on the baking sheets. Bake until edges begin to brown, 18 to 20 minutes. Cool completely.

For the frosting: Boil a cup or so of water in a small pot. Place confectioners’ sugar in large, heat-safe mixing bowl. Gradually stir in enough boiling water to the sugar to make a thick, spreadable mixture. Be careful not to make too runny. You want a consistency that hardens after applying. Leave remaining boiling water on the stove.

Spread frosting on half of the flat side of each cookie. Once all cookie halves have been frosted, place the bowl of the remaining frosting over the hot water and bring it back to a simmer (creating a double-boiler). Stir in the bitter or unsweetened chocolate until melted, as well as the light corn syrup. 
Ice the remaining half of the cookies with the chocolate frosting. Adding in a teaspoon of the hot water if consistency is dry.

Let the frosting set. Store in an airtight container. These cookies keep for only a few days, since they are on the cakier side. In my house they didn’t even last that long so it didn’t matter. ;) 


Note: If your batter looks like this, don't be frightened, you are on the right path!


Coconut Cake with Swiss Buttercream


As you may or may not know most of my baking is inspired by my oh so sweet husband. It usually goes like this - Z: "I want sweets." Me: "What would you like?" Z: "I don't know..." Me: "Well until you decide I can't help you." ..... Days later he has finally made up his mind and it's always the most random item. This time, coconut cake. I think I've made coconut cake one other time and it wasn't anything fabulous. Lately I figure there is no reason to put effort into baking unless it's for something amazing. Which in turn means it'll be time consuming and involve ingredients I don't have sitting in my pantry. This cake pretty much fits that description to a T. But it is so worth it! The only thing I would change is the frosting, I mean swiss buttercream is amazing, but it definitely takes some time AND just look at the ingredients... Go ahead, scroll down, I'll wait................. Ya, that's right, 3 STICKS of butter. Next time I'm going for a "lighter" version and will use my go to regular buttercream frosting. Until then, enjoy, and if you have some free time, take a go at this lovely, fluffy cake. You won't regret it. 

XO,
Brooke

White Cake Ingredients:
2¼ cups cake flour (9 ounces)
1/2 cup + 2 tablespoons whole milk, at room temperature
1/2 cup coconut milk
6 large egg whites (¾ cup), at room temperature
1 teaspoon coconut extract
1 teaspoon almond extract
1 teaspoon vanilla extract (or 1 inch vanilla bean seeds)
1½ cups + 2 tablespoons granulated sugar (11.35 ounces)
4 teaspoons baking powder
1 teaspoon table salt
12 tablespoons unsalted butter (1½ sticks), softened but still cool

Coconut Pastry Cream Ingredients:
1 can (14 fluid ounces) unsweetened coconut milk
3/4 cup sugar
1 tablespoon vanilla extract
pinch kosher salt
3 large egg yolks
2 tablespoons corn starch
2 tablespoons unsalted butter
1 cup sweetened coconut flakes
1/2 cup whipping cream

Coconut Syrup Ingredients:
1 cup sugar
1/4 cup water
1/4 cup coconut water

Coconut Swiss Buttercream Ingredients:
1 cup sugar
4 large egg whites , at room temperature
24 tablespoons (3 sticks) unsalted butter, at room temperature
2 teaspoon vanilla extract
1 teaspoon coconut extract
3 cups sweetened coconut flakes


Directions:

Make the cake: Set oven rack in middle position. Heat oven to 350 degrees. Grease or butter/flour two 9-inch cake pans very well. Add a parchment paper circle in the bottom of each and grease that too. You don’t want your layers to stick! Pour milk, egg whites, and extracts into a small bowl and whisk gently until blended.

In a large bowl, whisk together cake flour, sugar, baking powder, and salt. Add the butter and continue beating until mixture resembles moist crumbs, with no powdery streaks left.

Add all but about 1/2 cup of milk mixture to crumbs and beat at medium speed for 1 1/2 minutes. Add the remaining 1/2 cup of milk mixture and beat 30 seconds more. Scrape down the sides of bowl before beating just a little longer.

Divide batter evenly between two prepared cake pans and smooth the tops with a spatula. Arrange pans on middle rack. Bake until a thin skewer or toothpick inserted in the center comes out clean, 23 to 25 minutes.

Let the cakes rest in pans for a few minutes before running a knife around the edges of the pan and inverting the cakes onto wire racks. Invert them again so they’ll be right-side up and let them cool completely, about 1 1/2 hours, before wrapping in wax paper and plastic wrap to freeze until pretty firm, about 30 minutes.


Make the coconut pastry cream: Heat the coconut milk, sugar, salt and vanilla bean or extract in a medium saucepan over medium heat. In a bowl, whisk together the egg yolks and corn starch. Once the cream is hot, remove the vanilla bean (if used), scraping out any remaining seeds and returning them to the cream. Add 1/2 cup of the hot cream slowly to the yolks, whisking as you add, to temper the eggs so they won’t cook into an omelette in the middle of your pastry cream. That would be a bummer. Then pour the yolk mixture into the pot of hot cream and whisk. Continue to whisk with heat on medium-high for 3 more minutes. The mixture will turn thick and bubble. You need to continue to whisk for the full 3 minutes or the pastry cream will separate once it is cool. After the 3 minutes, whisk in the butter. Add the coconut flakes. Pour into a shallow dish to cool.


Cover with plastic wrap pressed right against the pastry cream. This will prevent a thick skin from forming on the surface. Refrigerate for at least an hour or freeze for 30 minutes. Once it is cold, stir the pastry cream to loosen. Whip the 1/2 cup cream to medium peaks. Stir in 1/3 to the pastry cream to lighten. Fold in the remaining cream until the pastry cream is nice and light.


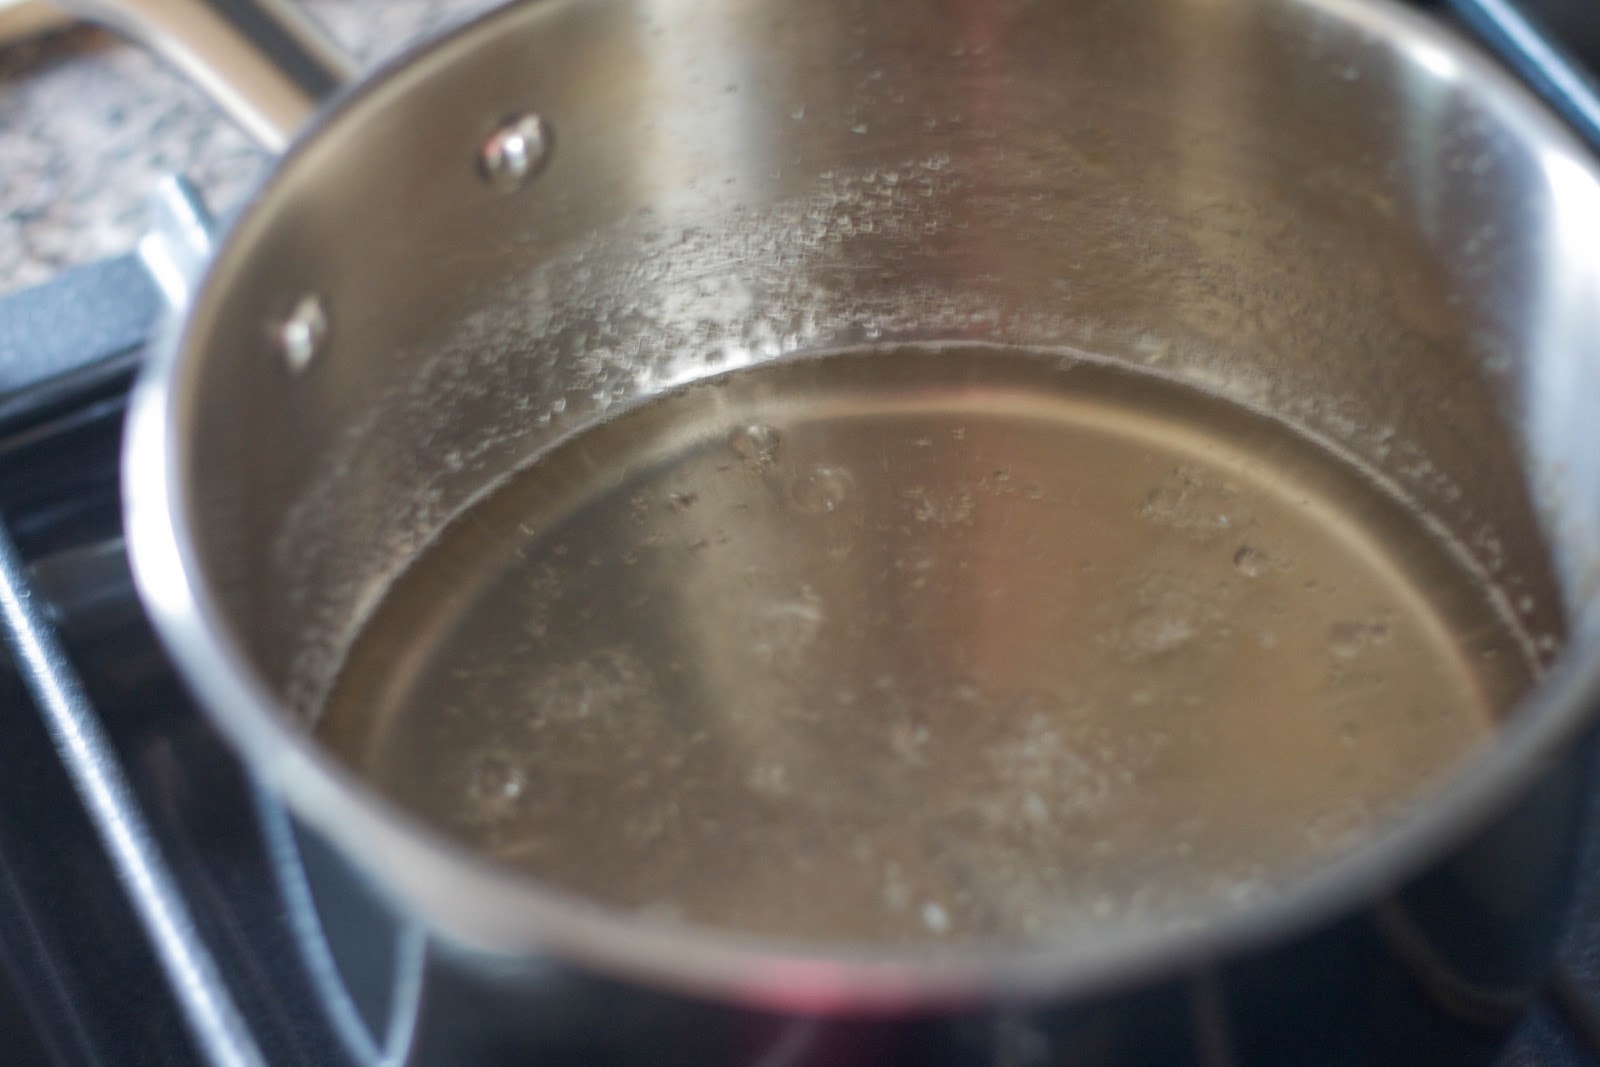
To make coconut syrup: Combine the sugar, water, and coconut water in a small saucepan over medium heat. Bring to a boil, reduce the heat, and simmer until the sugar has dissolved, about 5 minutes, stirring occasionally. Remove the pan from the heat and allow the syrup to cool completely, about 20 minutes.


Make Coconut Swiss buttercream icing: Combine sugar and 1/2 cup water in a small saucepan and bring to a boil over medium-high heat, stirring to dissolve sugar. Boil without stirring until syrup reaches 240° on a digital thermometer, about 5 minutes.

Meanwhile, in a stand mixer with whisk attachment, beat egg whites on medium-high speed until soft peaks form. With mixer on medium speed, gradually pour in hot syrup in a thin stream; avoid pouring syrup on whisk. Increase speed to medium-high and beat until stiff peaks form and mixture is cool, about 8 minutes. Reduce speed to medium and add butter 1 tablespoon at a time, beating after each addition. (If at any time buttercream appears curdled, beat on high until smooth, then reduce speed to medium and continue beating in butter.) Once all butter is added, beat on high speed until buttercream is smooth and fluffy, about 1 minute. Beat in vanilla and coconut extract.


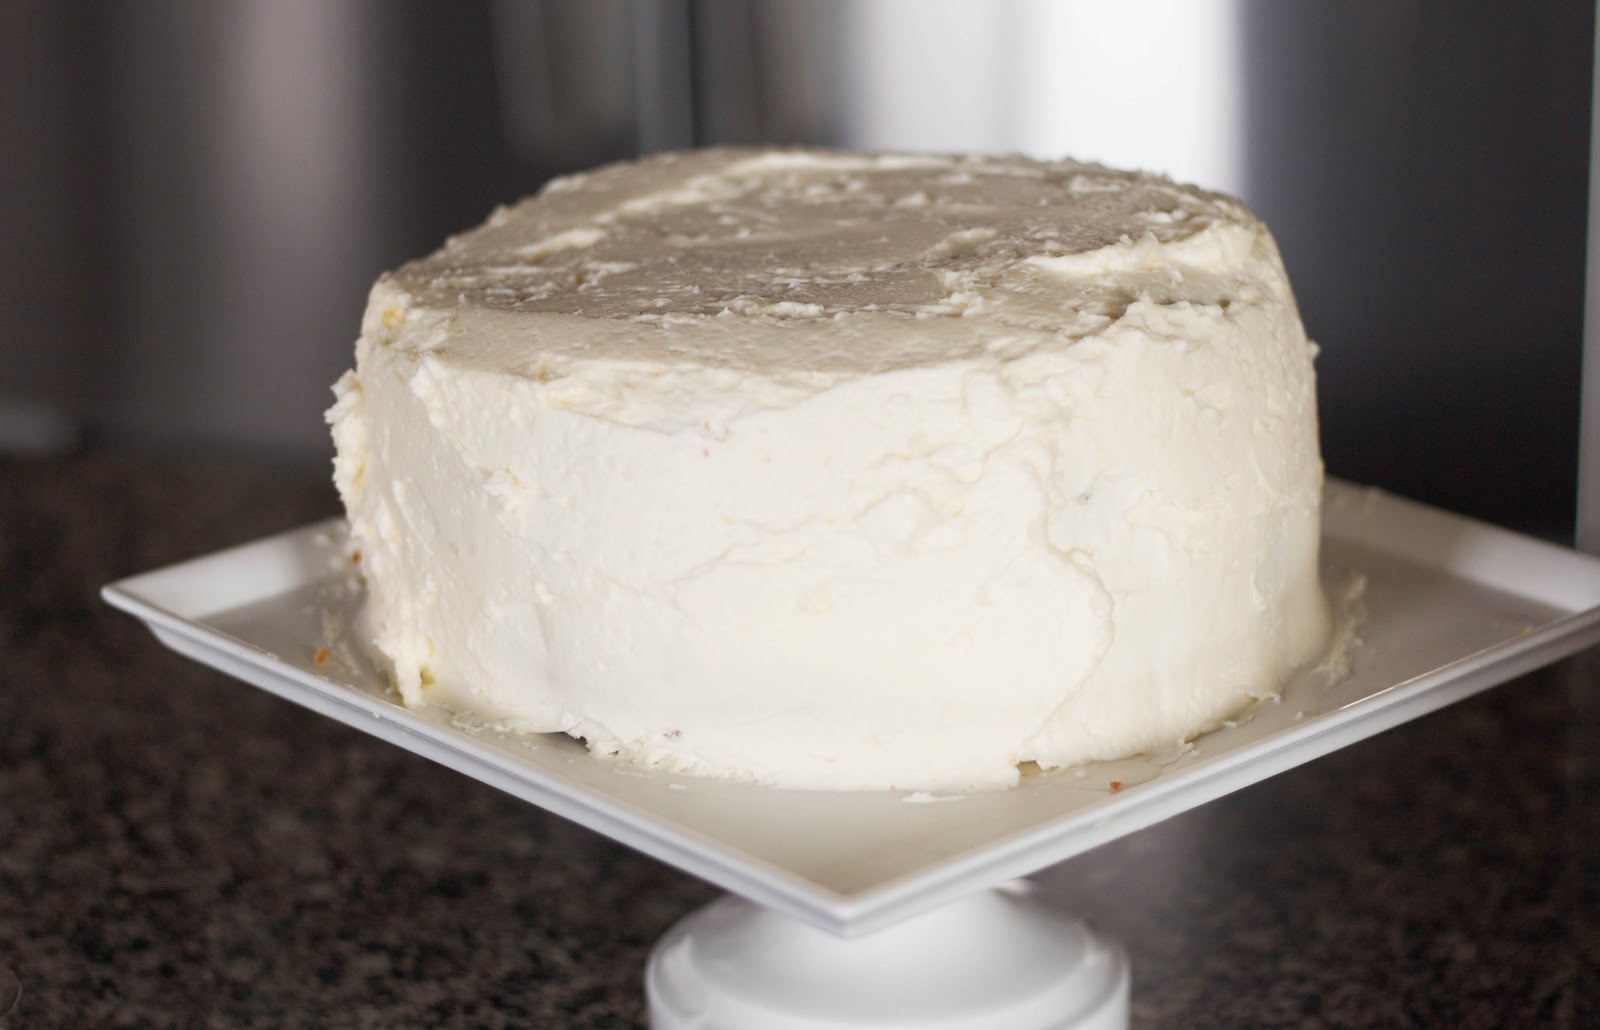
Assemble the cake: Carefully slice each cake layer in half with a long serrated knife. Drizzle a couple tablespoons of coconut syrup over the “inner” side (the one that seems most porous) of each layer. Spread 1/3 of the coconut pastry cream filling onto the first cake layer. Spread it almost to the edge, but pipe a thick bead of buttercream around the very outside edge of each layer to ensure no spillage. Sprinkle with flaked coconut. Repeat with the other layers. Frost the cake with a very thin crumb coat and set it in the freezer to set for about 15 minutes. Bring it out and continue frosting the rest of the cake generously. Carefully push handfuls of fluffy coconut all over the sides of the cake and on top. Keep the cake in the refrigerator, but let sit out for about 30 minutes before slicing and serving so the frosting will be soft.

 
Proving that no one is perfect....
And homemade is all about taste...
Not looks. ;)

Sunday, April 28, 2013

Yogurt Blueberry Cake with Sourcream Frosting


This cake is delish! It's sort of dense like a cobbler batter, but more moist and rich. The sour cream frosting is dolloped on each serving and adds a nice tangy and cool flavor to the cake. The cake is also all done in one mixing bowl and no fancy equipment needed! Experiment with other fruits as you like, I bet it would be great with a triple berry mix, or using greek yogurt instead of regular yogurt. The possibilities are endless! Enjoy!

XO,
Muyly


Ingredients:

1 1/2 cups full-fat yogurt
2/3 cup olive oil ( I did 2/3 cups of unsweetened applesauce and 1/4 tsp of baking soda  in place of the oil)
1 1/4 cup sugar
3 eggs
1 teaspoon vanilla
2 1/2 cups all-purpose flour
2 1/2 teaspoons baking powder
3/4 teaspoon baking soda
1/2 teaspoon salt
1 cup of frozen blueberries

Frosting:
1 Cup of Sourcream
1/4 to 1/2 cup of powdered sugar, depending on how sweet you like it.

Heat the oven to 350°F. Grease a cake pan, I used an 8 inch cake pan. make sure to also line with parchment paper. A spring form pan would work, or even two loaf pans.

Whisk together the yogurt, olive oil, sugar, eggs, and vanilla. Add the flour, baking powder, soda, salt, and nutmeg right into the liquids and stir just until no lumps remain. Fold in the blueberries with a spatula.

Pour the batter into the cake pan and bake for 50 to 60 minutes, covering with foil at the end if the top is browning. When a tester comes out clean, transfer the cake to a cooling rack and let it cool for 10 minutes before removing it from the pan.

Serve the cake warm or at room temperature, dollop with the sour cream frosting. When well-wrapped, this keeps very well for several days.

Pear and Gorgonzola Cheesecake Tart with Balsamic Honey Glaze

This tart is savory and filling! It has SO much flavor in one small little wedge, you will be amazed! You will also be amazed at how SIMPLE this tart is to make.


Ingredients:
1 refrigerated pie crust, room temperature
1 8-ounce package cream cheese, softened
1/3 cup crumbled Gorgonzola cheese, room temperature
2 tablespoons milk
1 egg, lightly beaten
1 tablespoon of chopped fresh tarragon
1 tablespoon of chopped fresh sage
2 D’Anjou pears, peeled and sliced

Glaze:
½ cup of Balsamic
2 tablespoons of honey

Directions:
Heat oven to 450°F. Prepare pie crust as directed on package for one-crust baked shell using a 9-inch tart pan with removable bottom. Trim excess pie crust even with top of pan. Bake 9 to 11 minutes or until light brown. Cool 10 minutes. Reduce oven temperature to 375°F.

Combine cream cheese and Gorgonzola cheese in a medium mixing bowl; beat with electric mixer on medium speed until blended. Beat in milk and egg until well mixed. Add herbs and mix until combined. Pour batter into cooled pie crust. Arrange sliced pears on top of mixture in one layer.


 Bake for 20 to 25 minutes or until filling is set. Let stand 30 minutes before serving.
Combine balsamic and honey into a small saucepan and let come up to a boil. Stir until glaze coats the back of a spoon. Take off heat and let cool.
Cut tart into wedges. Drizzle balsamic honey glaze on each wedge. If the glaze gets to thick as it cools, just nuke it in the microwave for 15 seconds.

Enjoy!

XO,
Muyly

Saturday, March 23, 2013

Gluten Free Mini Carrot Zucchinni Muffins

These muffins are gluten free, my adapted version makes them nut free as well. if you know anyone sensitive to gluten and allergic to nuts, this is a great muffin!


This recipe is adapted from GDL's  Mini Carrot Zucchini Muffins  


Ingredients
1 Cup Brown Rice Flour

1 TB of Coconut flour ( yep, just 1 tablespoon- i will tell you why later)
1/4 Tsp of fine sea salt
1 Tsp baking powder
1/2 tsp baking soda
2 Tsp ground cinnamon
1/3 Cup grapeseed oil
1/3 cup of Maple syrup
1 Large egg at room temp
1/2 cup of grated carrots
1/2 cup of grated zucchinis 
1/2 cup raisins

an additional 1/3 Cup of Unsweetened applesauce

1/2 cup of water

2 TB of honey, optional,  for extra sweetness 

Frosting
1 Cup whipped cream cheese
1 1/2 TB honey 
Preheat oven to 350 degrees


When its Zucchini Season, ask for some from a neighbor , co worker or friend.
 

Pushing your dry ingredients through a sieve is really important, makes the batter less clumpy and more fluffy


I love the color of the maple syrup...this thing was the most expensive ingredient! I love that its such a great substitute for brown sugar.


**Instead of using all oil I did half oil and half applesauce. I measured this by using displacement, I put in the applesauce first in the measuring cup- about half way up- and filled the rest with the oil, then added an additional 1/3 cup of unsweetened applesauce and 1/2 cup of water- I did this because coconut flour is very very absorbent. I found this out the hard way once. Save your money and time and trust me on this.**


 The original recipe says to bake for 5 minutes, but i did more like 8 minutes, and since we are high altitude here in SLC, the temperature of the oven went up to 375 degrees.I think the oil and applesauce and the moisture from the veggies just needed the extra time.


the frosting is the best part! i could use this as a dip with apples and strawberries! i would swim in it if i knew how to swim ( yes, i do not know how to swim)


I made two batches, one to keep home and one to take to a bake sale at work. The ones for the bake sale, I baked in these cute start muffin cups and they were a hit at the bake sale! People love seeing the all natural ingredients, and I didn't realize how many gluten sensitive people are really out there, or people who just truly appreciate a healthful muffin!